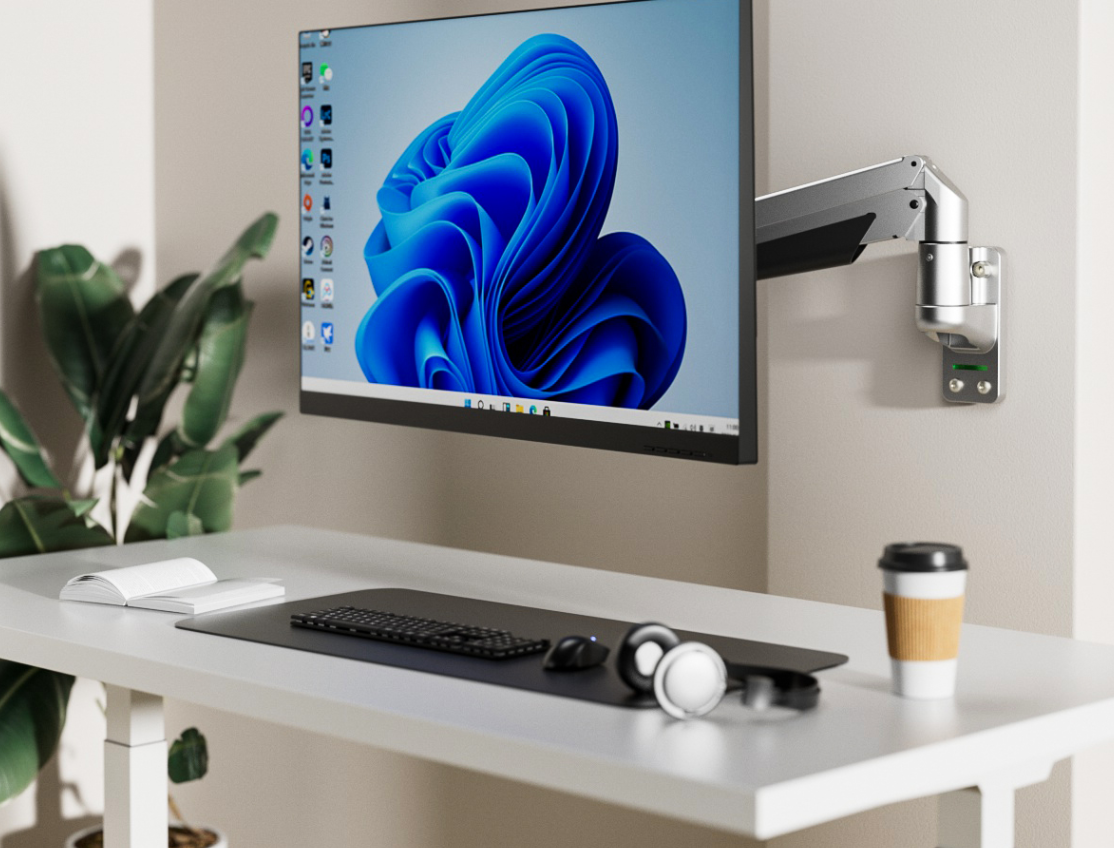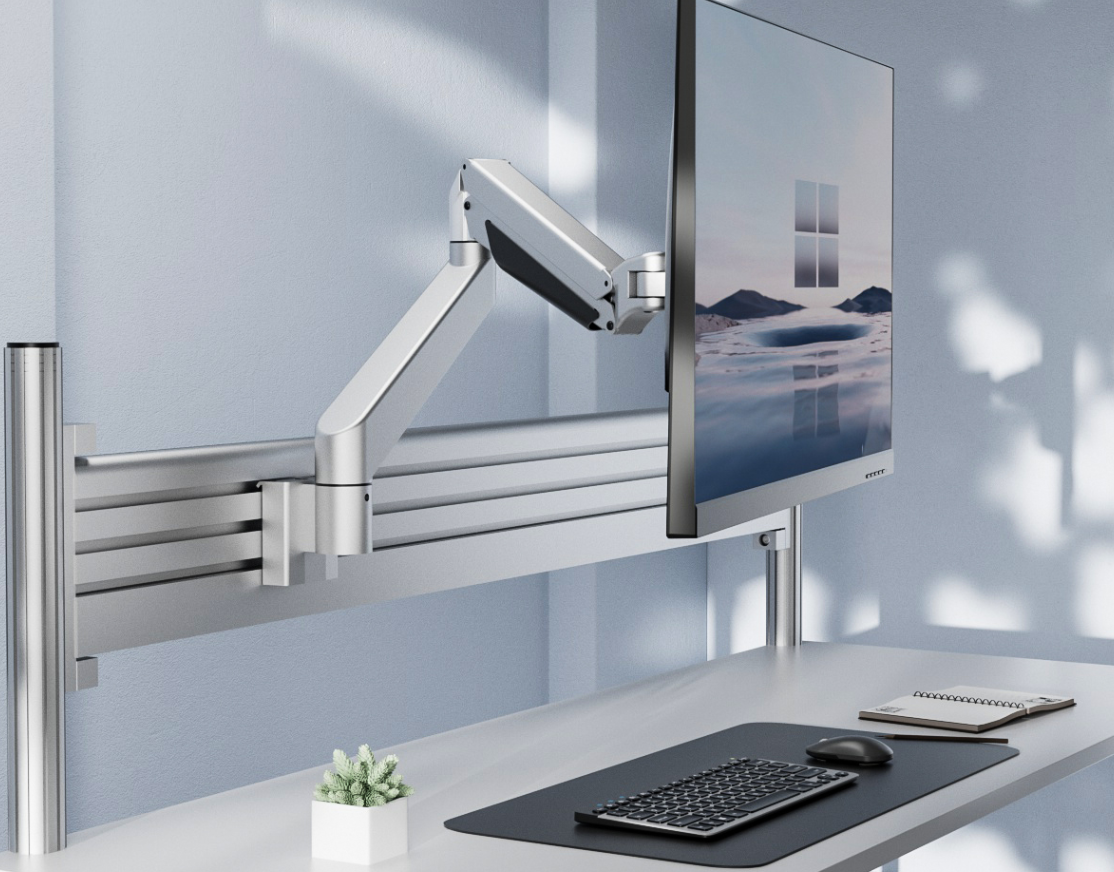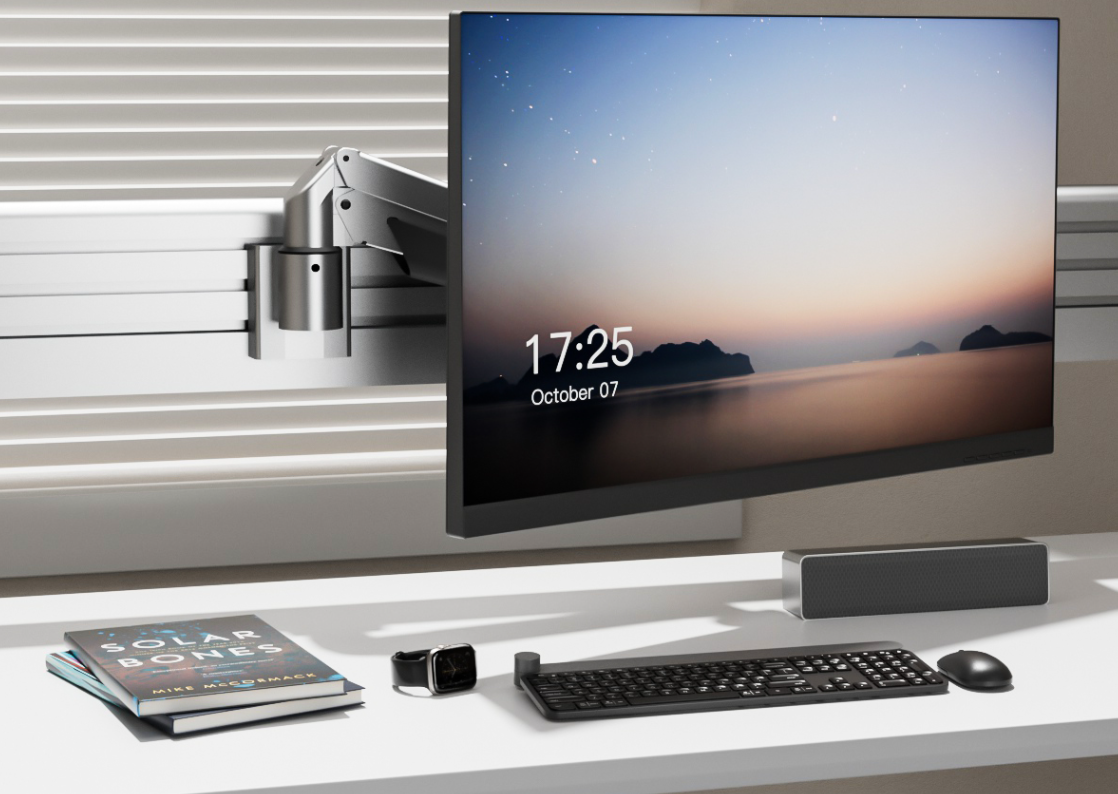
Mounting your monitor on the wall can completely transform your workspace. It frees up valuable desk space and helps you achieve a more comfortable viewing position. You’ll notice how much easier it becomes to maintain good posture while working or gaming. Plus, the sleek look of a monitor wall mount adds a modern touch to any room. Whether you’re upgrading your setup or just looking for better ergonomics, this simple change can make a big difference.
Key Takeaways
- ● Ensure your monitor is compatible with the wall mount by checking VESA standards and weight limits to avoid installation issues.
- ● Gather essential tools like a drill, screwdriver, stud finder, and level before starting to streamline the installation process.
- ● Choose the right mounting location at eye level to promote good posture and reduce neck strain while using your monitor.
- ● Mark drill points accurately and use pilot holes to prevent wall damage and ensure a secure mount installation.
- ● Organize cables with ties or clips after mounting to maintain a clean and professional workspace.
- ● Regularly adjust your monitor's position for optimal viewing comfort, which can help reduce eye and neck strain.
- ● Test the stability of your mount before attaching the monitor to ensure a safe and secure setup.
Checking Monitor Compatibility
Before you start installing your monitor wall mount, you need to ensure that your monitor is compatible with the mount. This step saves you time and prevents frustration later. Let’s break it down into two key factors: VESA standards and weight and size requirements.
Understanding VESA Standards
The VESA standard is a universal mounting pattern that most monitors follow. It determines how the holes on the back of your monitor align with the mount. You’ll usually find this information in your monitor’s manual or on the manufacturer’s website. Look for terms like “VESA 75x75” or “VESA 100x100.” These numbers represent the distance (in millimeters) between the mounting holes.
If your monitor doesn’t follow the VESA standard, don’t worry. You can use an adapter plate to make it compatible. Always double-check this detail before purchasing a wall mount to avoid unnecessary hassle.
Weight and Size Requirements
Every monitor wall mount has a weight limit and size range it supports. You’ll want to check your monitor’s weight and screen size against the mount’s specifications. Exceeding these limits can lead to unsafe installation or damage to your equipment.
To find your monitor’s weight, check the product specifications or use a scale if needed. For screen size, measure diagonally from one corner of the screen to the opposite corner. Once you confirm these details, you can confidently choose a mount that fits your monitor perfectly.
By understanding these compatibility factors, you’ll set yourself up for a smooth installation process. Taking a few minutes to verify these details now can save you from potential issues later.
Tools and Materials Needed

Before you dive into the installation process, gather everything you’ll need. Having the right tools and materials on hand makes the job quicker and smoother. Let’s break it down into two simple lists.
Essential Tools
You don’t need a toolbox full of fancy gadgets to install a monitor wall mount. A few basic tools will get the job done. Here’s what you’ll need:
- ● Drill: A power drill is essential for creating pilot holes in the wall. Make sure you have the correct drill bit size for your screws.
- ● Screwdriver: A Phillips-head screwdriver works for most mounts. Some mounts may require an Allen wrench, which is often included in the package.
- ● Stud Finder: This tool helps you locate wall studs. Mounting directly into a stud ensures your monitor stays secure.
- ● Level: A small bubble level ensures your mount is straight. A crooked mount can cause your monitor to tilt or look uneven.
- ● Measuring Tape: Use this to measure the height and distance for proper placement.
- ● Pencil: Marking the drill points with a pencil keeps your measurements accurate.
Having these tools ready will save you from running back and forth during the installation.
Materials to Prepare
In addition to tools, you’ll need a few materials to complete the setup. These items are just as important for a successful installation:
- ● Wall Mount Kit: Most kits include the mounting bracket, screws, and washers. Double-check that all parts are included before starting.
- ● Anchors: If you’re mounting on drywall without a stud, use heavy-duty wall anchors. These provide extra support and prevent the mount from pulling out.
- ● Cable Ties or Clips: These help with cable management. Keeping wires organized gives your setup a clean and professional look.
- ● Adapter Plate (if needed): If your monitor isn’t VESA-compatible, an adapter plate will make it work with the mount.
Pro Tip: Lay out all your tools and materials on a flat surface before you begin. This way, you won’t waste time searching for items mid-installation.
With these tools and materials ready, you’re all set to move on to the installation process. Taking a few minutes to prepare now will make the entire project much easier.
Step-by-Step Installation Guide

Choosing the Mounting Location
Start by picking the perfect spot for your monitor wall mount. Think about where you’ll sit and how you’ll use the monitor. The goal is to place it at eye level to reduce neck strain. Sit in your chair and look straight ahead. That’s where the center of your screen should be.
Use a stud finder to locate the wall studs. These provide the strongest support for your mount. Avoid mounting directly on drywall without a stud unless you’re using heavy-duty anchors. Measure the distance between the studs to ensure they align with your mount’s bracket holes. If they don’t, you may need to adjust the location slightly.
Pro Tip: Consider the lighting in the room. Avoid placing the monitor where glare from windows or lights could hit the screen.
Marking and Drilling Pilot Holes
Once you’ve chosen the location, it’s time to mark the drill points. Hold the mounting bracket against the wall where you want it. Use a pencil to mark the spots where the screws will go. Double-check that the bracket is level before marking.
Grab your drill and the correct drill bit size for the screws. Drill pilot holes at the marked points. These holes make it easier to drive the screws in and help prevent the wall from cracking. If you’re drilling into a stud, make sure the holes are deep enough to hold the screws securely. For drywall installations, insert wall anchors into the holes after drilling.
Safety Tip: Wear safety goggles while drilling to protect your eyes from dust and debris.
Attaching the Wall Mount
Now it’s time to secure the wall mount. Align the bracket with the pilot holes or anchors. Insert the screws through the bracket holes and tighten them using a screwdriver or drill. Make sure the mount is firmly attached to the wall. Give it a gentle tug to confirm it’s secure.
If your mount has an adjustable arm, attach it to the bracket according to the instructions in the kit. Check that the arm moves smoothly and stays in place when adjusted. This step ensures your monitor will stay stable once mounted.
Pro Tip: Don’t overtighten the screws. Tighten them enough to hold the mount securely, but avoid stripping the screw heads.
With the wall mount installed, you’re ready to move on to attaching your monitor. You’re one step closer to enjoying a clutter-free and ergonomic workspace!
Securing the Monitor to the Mount
Now that your wall mount is securely attached, it’s time to connect your monitor. Start by locating the VESA mounting holes on the back of your monitor. Align these holes with the mounting plate or arm on the wall mount. Carefully hold the monitor in place while you insert the screws or bolts provided in your wall mount kit. Tighten them using a screwdriver or Allen wrench, depending on what the kit requires.
Make sure the monitor is firmly attached but avoid overtightening the screws. Overdoing it can damage the threads or the monitor itself. Once secured, gently test the connection by giving the monitor a slight shake. It should feel stable and not wobble. If it moves, double-check the screws and tighten them as needed.
Pro Tip: If your monitor is heavy, ask someone to help you hold it while you secure it to the mount. This makes the process safer and easier.
Cable Management and Adjustments
With the monitor mounted, it’s time to tidy up the cables. A clean setup not only looks better but also prevents tangling and accidental disconnections. Use cable ties, clips, or the built-in cable management system (if your mount has one) to organize the wires. Group the cables together and secure them along the arm or down the wall. Keep them out of sight for a sleek and professional appearance.
Next, adjust the monitor to your preferred viewing angle. Most monitor wall mounts allow you to tilt, swivel, or extend the screen. Sit in your usual position and make small adjustments until the monitor is at eye level and the angle feels comfortable. This step is crucial for reducing neck and eye strain during long hours of use.
Pro Tip: Leave a little slack in the cables to allow for movement if your mount has an adjustable arm. This prevents unnecessary tension on the wires.
Once everything is set, step back and admire your work. You’ve successfully installed your monitor wall mount and created a functional, ergonomic, and visually appealing workspace.
Tips for Optimal Setup
Ergonomic Positioning
Setting up your monitor wall mount for ergonomic comfort can make a big difference in your daily routine. Start by ensuring the center of your screen aligns with your eye level when you’re seated. This reduces strain on your neck and shoulders. Sit in your usual chair and look straight ahead. Adjust the monitor height until it feels natural to keep your head upright.
Position the monitor at an arm’s length away from where you sit. This distance helps reduce eye strain while keeping the screen clear and easy to read. If your monitor wall mount allows tilting, angle the screen slightly upward or downward to minimize glare and improve visibility. Small adjustments can go a long way in creating a comfortable viewing experience.
Pro Tip: Use the “20-20-20 rule” to protect your eyes. Every 20 minutes, look at something 20 feet away for 20 seconds. This simple habit can help reduce eye fatigue.
Avoiding Common Mistakes
Avoiding common pitfalls during setup ensures your monitor wall mount stays secure and functional. One frequent mistake is skipping the step of finding a wall stud. Mounting directly onto drywall without proper anchors can lead to instability or even damage. Always use a stud finder to locate a solid anchor point.
Another error is misaligning the mount. A crooked installation not only looks unprofessional but can also cause your monitor to tilt. Use a level to double-check the alignment before drilling any holes. Taking a few extra minutes to ensure accuracy can save you from redoing the work later.
Overtightening screws is another issue to watch out for. While it’s important to secure the mount firmly, applying too much force can strip the screws or damage the wall. Tighten the screws just enough to hold everything securely in place.
Lastly, don’t overlook cable management. Leaving cables tangled or hanging loosely can create a messy appearance and increase the risk of accidental disconnections. Use cable ties or clips to keep everything neat and organized.
Pro Tip: Test the stability of your setup before attaching the monitor. Give the mount a gentle tug to confirm it’s secure. This quick check can prevent potential accidents.
By following these tips, you’ll create a workspace that’s not only functional but also visually appealing and comfortable to use.
FAQ
What is VESA compatibility, and why is it important?
VESA compatibility refers to a standardized mounting pattern used by most monitors and wall mounts. It ensures that the holes on the back of your monitor align perfectly with the mounting bracket. You’ll usually see terms like “VESA 75x75” or “VESA 100x100,” which indicate the distance in millimeters between the mounting holes.
Why does this matter? Without VESA compatibility, your monitor won’t fit the mount properly. This could lead to an unstable setup or even damage your equipment. Always check your monitor’s manual or the manufacturer’s website for its VESA specifications. If your monitor isn’t VESA-compatible, you can use an adapter plate to make it work. Verifying this detail before purchasing a wall mount saves you time and frustration.
Quick Tip: If you’re unsure about your monitor’s VESA pattern, measure the distance between the mounting holes yourself. A ruler or measuring tape works perfectly for this.
Can I install a wall mount on drywall without a stud?
Yes, you can install a wall mount on drywall without a stud, but you’ll need to use heavy-duty wall anchors. These anchors provide extra support and prevent the mount from pulling out of the wall. However, mounting directly into a stud is always the safest option. Studs offer the strength needed to hold the weight of your monitor securely.
If you must mount on drywall, follow these steps:
- Choose high-quality wall anchors designed for heavy loads.
- Drill pilot holes and insert the anchors into the wall.
- Attach the mounting bracket to the anchors using screws.
Important Note: Avoid using regular plastic anchors for heavy monitors. They may not provide enough support, leading to potential accidents.
For peace of mind, consider using a stud finder to locate a stud. If no studs are available in your desired location, ensure the anchors you choose can handle the weight of your monitor and mount.
How do I know if my wall mount is secure?
Testing the security of your wall mount is crucial before attaching your monitor. After installing the mount, give it a gentle tug or push to check its stability. It should feel firm and not wobble. If it moves, tighten the screws or bolts until the mount stays in place.
Here’s a quick checklist to ensure your mount is secure:
- ● Verify that the screws are tightened properly but not overtightened.
- ● Check that the mount is level and aligned with the pilot holes.
- ● Confirm that the wall anchors (if used) are holding firmly in the wall.
Pro Tip: After attaching your monitor, test the setup again. Adjust the monitor’s position gently to ensure the mount supports its weight without shifting.
Taking a few minutes to double-check everything ensures your monitor stays safe and secure. It’s always better to catch potential issues now than deal with problems later.
Can I adjust the monitor after installation?
Yes, you can adjust your monitor after installation, and it’s one of the best features of a wall mount. Most mounts come with adjustable arms or brackets that let you customize the monitor’s position for your comfort. Here’s how you can make adjustments without hassle:
-
1. Tilt the Monitor
Many wall mounts allow you to tilt the monitor up or down. This feature helps reduce glare from lights or windows. To adjust, gently hold the monitor and tilt it to the desired angle. Avoid forcing it if it feels stuck—check the mount’s manual for specific instructions. -
2. Swivel for Better Viewing
If your mount supports swiveling, you can rotate the monitor left or right. This is especially useful if you need to share your screen with someone or change your seating position. Hold the edges of the monitor and slowly swivel it to the side. Make sure the movement feels smooth and controlled. -
3. Adjust the Height
Some mounts let you raise or lower the monitor. This feature is great for achieving the perfect eye-level position. To adjust, follow the instructions provided with your mount. You might need to loosen a knob or screw before moving the monitor. -
4. Extend or Retract the Arm
If your mount has an extendable arm, you can pull the monitor closer or push it back toward the wall. This flexibility is ideal for multitasking or creating more desk space. Move the arm gently to avoid putting strain on the mount.
Pro Tip: Always make small adjustments while holding the monitor securely. Sudden or forceful movements could damage the mount or the monitor.
After making adjustments, sit in your usual position and check if the monitor feels comfortable to view. If something doesn’t feel right, tweak the position until it’s just right. Regularly adjusting your monitor can help you maintain good posture and reduce strain on your eyes and neck.
Installing a monitor wall mount is a game-changer for your workspace. It helps you free up desk space, improve your posture, and create a cleaner, more organized setup. By following this guide, you’ve learned how to securely mount your monitor while keeping everything ergonomic and visually appealing. Now, you can enjoy a more comfortable and productive environment. Take pride in your upgraded setup and the benefits it brings to your daily routine. You’ve got this!
Post time: Nov-26-2024

